
Shopify - Manual integration: Creating a Dynamic Tag Flow with Filter Buttons
Once you have created a Flow in the Visual Marketing > Flows menu of the Flowbox dashboard, you can display the Flow on your Shopify page.
You can create 3 different types of Flows in Shopify:
- Static Flow – typically used on the home page and/or a community page.
- Dynamic Tag Flow – perfect for an Instashop or category pages.
- Dynamic Product Flow – create shoppable galleries on your product pages.
This guide will focus on the Dynamic Tag Flow with Filter Buttons.
Configuring a Dynamic Tag Flow with Filter Buttons
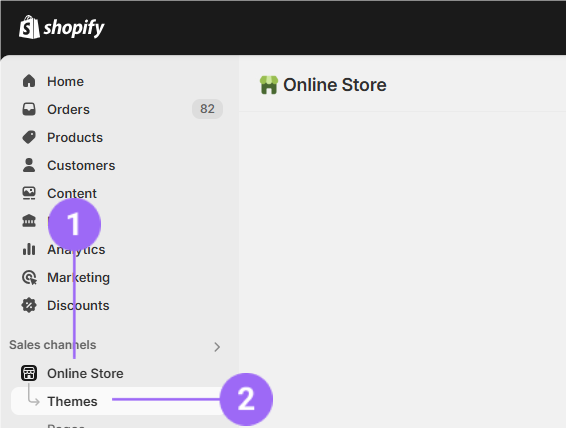
- First, log in to your Shopify account and go to 'Online Store' and click on 'Themes':
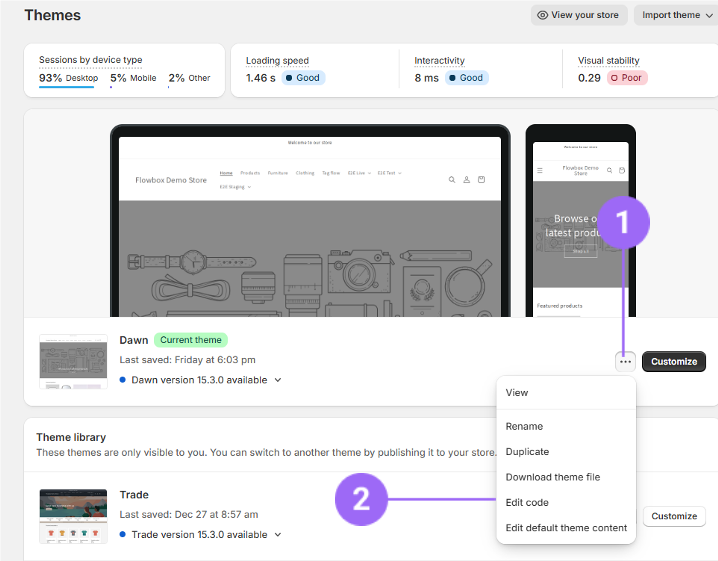
- Click on the 3 dots and 'Edit code':
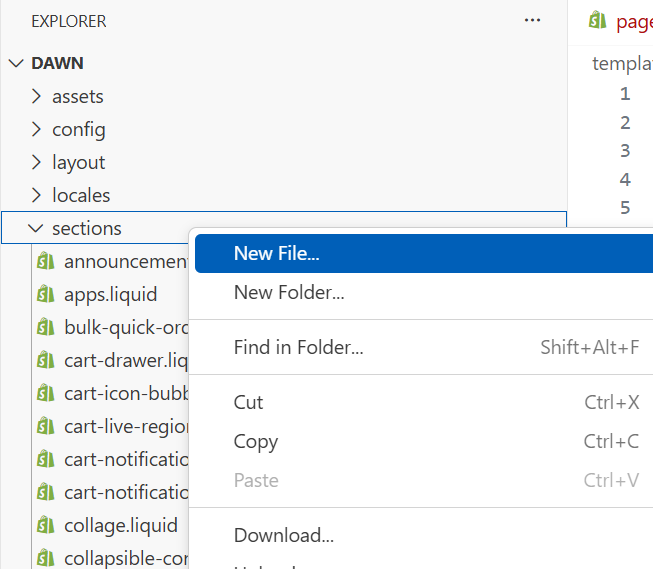
- Click on 'Sections'. Right-click, and then click on 'New file...':
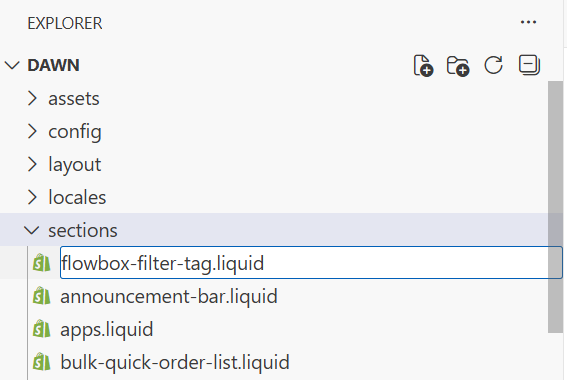
- Name your file 'flowbox-filter-tag.liquid' and press enter. A file will be created in your 'sections' directory:
- Copy paste the following code an click on 'Save' (top-right corner):
<script>
  (function(d, id) {
    if (!window.flowbox) { var f = function () { f.q.push(arguments); }; f.q = []; window.flowbox = f; }
    if (d.getElementById(id)) {return;}
    var s = d.createElement('script'), fjs = d.scripts[d.scripts.length - 1]; s.id = id; s.async = true;
    s.src = ' https://connect.getflowbox.com/flowbox.js';
    fjs.parentNode.insertBefore(s, fjs);
  })(document, 'flowbox-js-embed');
</script>
<div>
 <div class="tags" style="display: flex;
 flex-wrap: wrap;
 justify-content: center;
 margin-bottom: 50px;
 cursor: pointer;">
 <button style="margin: 5px;" data-tag="" class="active button">#{{section.settings.flowAllKey}}</button>
 {% for block in section.blocks %}
  {% if block.settings.value != blank %}
    <button
      data-tag="{{ block.settings.value | escape }}"
      style="margin: 5px;" class="button"
    >
      {{ block.settings.label }}
    </button>
  {% endif %}
{% endfor %}
</div>
<div id="js-flowbox-flow-buttons" style="display: block !important;"></div>
</div>
<script>
 var allTags = [];
 for (i=1; i<document.querySelectorAll('button[data-tag]').length; i++){
   allTags.push(document.querySelectorAll('button[data-tag]')[i].dataset.tag);
 }
  window.flowbox('init', {
    container: '#js-flowbox-flow-buttons',
    key: '{{ section.settings.flowKey }}',
    locale: '{{ section.settings.flowLocale }}',
    tags: allTags,
    tagsOperator: 'any'
  });
function updateFlow (tag, tagsOperator) {
 window.flowbox('update', {
   key: '{{ section.settings.flowKey }}',
   tags: tag,
   tagsOperator: tagsOperator
 });
}

const buttons = document.querySelectorAll('button[data-tag]');

function clearButtonClasses () {
 for (const button of buttons) {
   button.classList.remove('active');
 }
}
document.addEventListener('click', function (event) {
   if (event.target.matches('div.tags button')) {
    if (event.target.dataset.tag == "") {
           updateFlow(allTags, "any");
        } else {
           updateFlow(event.target.dataset.tag.split(","), "all");
        }
           clearButtonClasses();
           event.target.classList.add('active');
    }
}, false);
</script>
{% schema %}
{
  "name": "Dynamic-Tag-Button-Flow",
  "class": "tag-flow",
  "settings": [
    {
      "type": "text",
      "id": "flowKey",
      "label": "Flow Key"
    },
    {
      "type": "text",
      "id": "flowLocale",
      "label": "Locale",
      "default": "en-EU"
    },
    {
      "type": "text",
      "id": "flowAllKey",
      "label": "All Button Text",
      "default": "All"
    }
  ],
  "blocks": [
    {
      "type": "filter_button",
      "name": "Filter Button",
      "settings": [
        {
          "type": "text",
          "id": "label",
          "label": "Button label"
        },
        {
          "type": "text",
          "id": "value",
          "label": "Filter value"
        }
      ]
    }
  ],
  "presets": [
    {
      "name": "Dynamic-Tag-Button-Flow",
      "category": "Flowbox Flows"
    }
  ]
}
{% endschema %}
In this code, we're using a flow named 'Dynamic-Tag-Button-Flow'. If you want to change the name, make sure to update both the "name" fields within the schema section of the code.
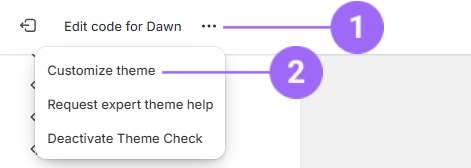
- Click on the 3 dots on top and on 'Customize theme':
- You're currently on the Homepage. Switch to the page where you want to implement the Flow:
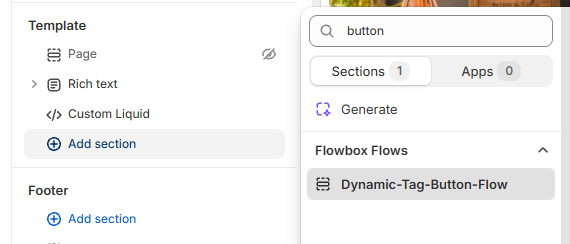
- To add the Flow to your page, click "Add section" and search your Flow by typing the name that was previously set up. Then, select it from the dropdown menu:
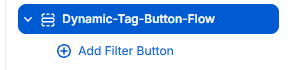
- Click on 'Add Filter Button':
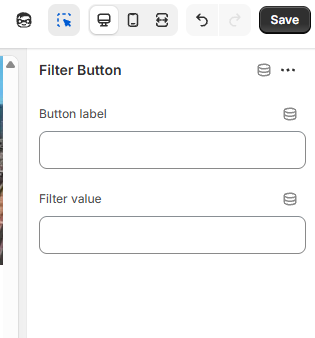
Add the 'button label' (text displayed to the user) and 'filter value' (tag used on our platform).
Then click on 'Save'.
Perform this step for each button you wish to add.
- Click on the newly added section:

- Add your flow-key and locale:

Get the Flow Key by copying it from the 'Copy Flow Key' option in the meatball (three-dot) menu in the Visual Marketing > Flows menu in the Flowbox dashboard.

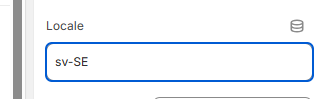
You will see a default locale set to 'en-EU'. Please update this to match the locale used in your Catalogs, as seen in the "Catalogs" section from your Flowbox dashboard.
The locale combines a language code and a region code, and serves two main purposes:
- Translate the widget's text and forms to the selected language.
- Specify the catalog from which we should fetch data for assigned products, such as the product titles, product links and the product price's currency.
If you wish to apply a different setup for a specific country, you can override the default settings as follows :
- Select the desired country.
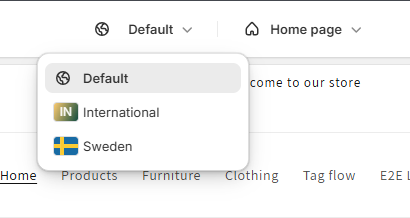
- Adjust the relevant settings (e.g., tags, locale, etc.).
- Click Save to apply the changes
- To modify the look of the button area, go to 'Custom CSS' and enter your CSS rules.

- Drag the flow to where you want to position it on the page, and then click 'Save' to see a preview of your Flow.
